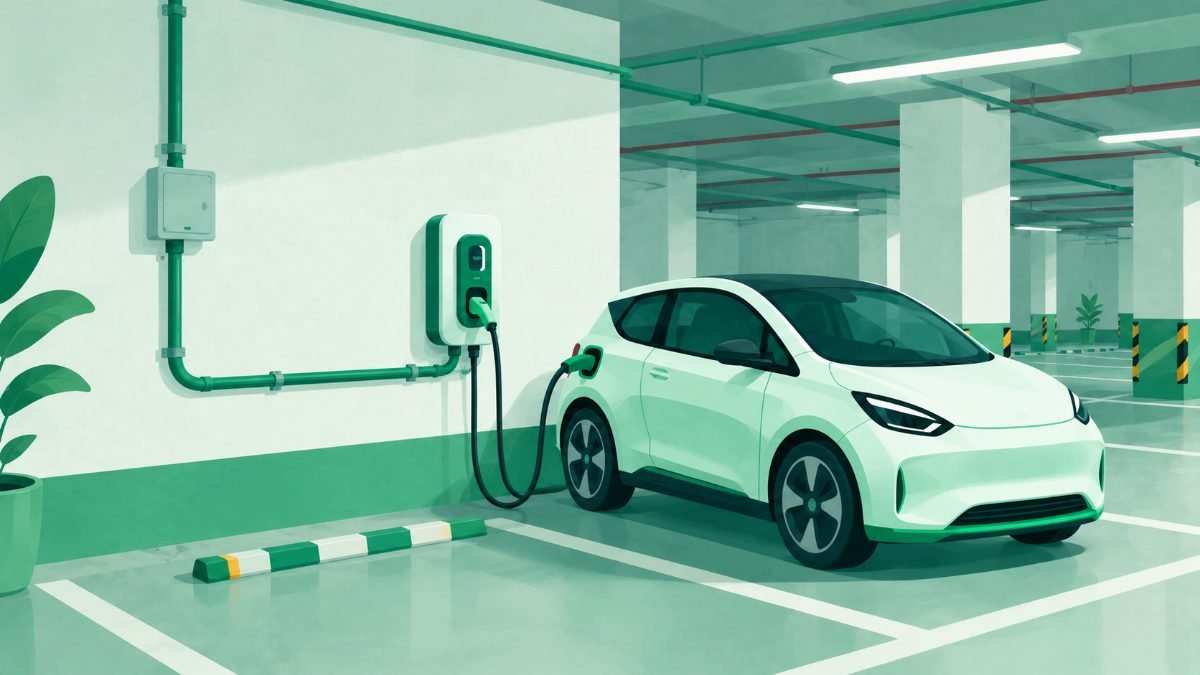
Installing an EV charger in an Indian apartment takes four things, and the order matters: a feasibility check of your own flat and parking spot, written permission from your society, an agreed metering and billing plan, and installation by a licensed electrician or the charger brand's authorised installer. Residents who get stuck almost always bought hardware first, or approached the committee before they could answer its questions. Done in sequence, a straightforward installation usually takes a few weeks, most of it spent waiting for a committee meeting rather than for electrical work. Here is what happens at each step, who does what, and where things stall.
Step 1: Work out what your own flat can support
This step costs nothing and saves the most time. Settle four facts before writing to anyone.
- Parking. Is the spot clearly allotted to your flat in the society's records? Charging in rotating or unallotted parking is a different request — a shared-point proposal — and committees treat the two differently.
- Distance and route. Pace out the distance from your meter to the spot. Length drives cost; the route drives how much common area you are asking to use.
- Sanctioned load. Your bill states your flat's sanctioned load, consumer number and tariff category. A 3.3 kW point draws roughly what a large geyser does and often fits an existing domestic connection; a 7.2 kW wall box frequently does not.
- The board and the earth. Photograph your distribution board. An electrician learns a lot from whether there is a spare way, what protection is already fitted, and how earthing is arranged.
If your load is short, raising it is a DISCOM process, not a society one, and the two are often confused. Procedure, paperwork, deposit and fees differ by state and by utility and change over time, so treat any figure you find online as out of date. Ask your own DISCOM what the current process, cost and timeline are for your connection, in writing, before you budget. Our walkthrough of the load-enhancement process covers what to ask for; sanctioned load explained covers reading the figure on your bill. The readiness checklist turns this into a two-minute self-check.
Step 2: Get society permission in writing
Almost every managed building requires committee approval before electrical work touches parking, because the cable route, the mounting wall and the bay itself are common property. In practice you submit a written request to the secretary, it is acknowledged, it is tabled at the next committee meeting, the committee asks questions, and — if your answers hold — you receive a conditional approval letter.
A request that moves quickly answers those questions before they are asked: exact parking number and mounting position, charger type and power, the named installer, the cable route with a commitment to reinstate common areas, the protection devices to be fitted, how electricity will be measured and paid for, and a plain statement that you bear all costs. Our permission request letter template follows that structure, and cable routing options helps you describe the route in terms both an electrician and a committee accept.
What changes hands: your letter, your installer's details, sometimes an undertaking accepting responsibility for the equipment, and the committee's written approval listing its conditions. Keep that approval — you will want it when the committee membership changes.
Step 3: Settle metering and billing before any cable is pulled
Residents postpone this, and postponing it is expensive, because the metering decision determines where the cable starts: a charger billed to your own flat meter is wired from your flat's supply, while one on a society sub-meter is wired from a common panel. Different routes, different costs — and no installer can finalise a quote until it is settled. The three usual models, your own flat meter, a dedicated sub-meter billed to you, or a common-area meter with reimbursement, are compared in own meter, sub-meter or common meter. Committees accept almost any arrangement where every unit is measured and paid for by whoever consumed it, and resist anything resembling a flat monthly guess.
Put a number in front of the committee. Say your battery is 40 kWh and you top up from about 30% to 80% — roughly 20 kWh from the wall, plus charging losses. At an illustrative ₹8 per unit (check your own bill; slabs and categories vary), that is about ₹160 a session. A figure like that turns an abstract worry about "common electricity" into an ordinary line item. The charger cost calculator runs the sum on your own numbers.
Step 4: Professional installation and handover
On a straightforward site the physical work is half a day to a day. A competent installer verifies the available load rather than assuming it, runs an appropriately sized cable on the approved route as a dedicated circuit, fits an MCB sized for that circuit plus an RCCB or RCBO for earth-leakage protection, verifies earthing at the charging point, tests the installation and hands over a completion note.
Your part is smaller but not nothing. Tell the facility manager in advance so lift and basement access is arranged, and photograph the route before conduit is closed. If a sub-meter is fitted, photograph its serial number and opening reading with the installer present, so the first bill starts from an agreed figure.
Then close the loop: send the society the completion note, the opening reading and the installer's details. It discharges your permission and helps the next applicant — many committees approve the second charger far faster than the first, because someone left a paper trail. What an electrician's site assessment should cover lists what a proper handover includes.
A realistic timeline
These are ranges residents commonly report, not promises — any stage can run longer.
| Stage | Typical duration | What controls it |
|---|---|---|
| Self-assessment and quotes | A few days to two weeks | Finding your bill, measuring the route, getting comparable quotes |
| Society permission | 2–8 weeks | When the committee next meets; whether a written EV policy already exists |
| DISCOM load enhancement, only if needed | Varies widely | Your DISCOM's own procedure and inspection queue — ask them for current timelines |
| Finalising route and metering | A few days | How much common area the cable crosses |
| Installation and testing | Half a day to one day | Cable run length and route complexity |
Where installations actually stall
- Hardware bought first. A charger sitting in its box creates pressure to approve, which committees resist, and it fixes your power rating before anyone has checked the load.
- Billing left vague. "We'll sort it out later" is the commonest cause of disputes a year on. Decide the model, write it down, get it into the approval letter.
- Confusing the two approvals. Society permission does not authorise a load change, and a DISCOM load enhancement does not authorise use of common areas. If you need both, run them in parallel.
- Improvising meanwhile. An extension cord trailed from a balcony is a shock and fire hazard. Skipping the RCCB or RCBO because "there's already an MCB" is the same mistake in another form — they protect against different failures.
Common questions
Can I install an EV charger in my flat without society permission?
In practice, no — not if any part of the installation touches common property, which nearly every apartment charger does: the cable route, the parking bay and often the mounting wall belong to the society, not to you. Unannounced work tends to end badly, because societies can and do ask residents to remove unapproved installations. Ask first, in writing, and keep the reply.
Do I need to increase my sanctioned load for a home charger?
It depends on the charger's power and how much headroom your connection already has, which is why the answer has to come from your bill and an electrician rather than a general article. A 3.3 kW point often fits a typical domestic connection; a 7.2 kW wall box frequently needs more. Your electrician can measure what your flat draws at peak, and only your DISCOM can say what enhancing the load involves.
How long does the whole process take from decision to first charge?
For a straightforward private charger with allotted parking and no load change, a few weeks is common, and the committee's meeting calendar usually accounts for most of it. Add time if your sanctioned load needs raising, if the cable route is contested, or if your society is handling its first EV request. The electrical work is rarely the bottleneck.
Can I charge from an ordinary 15A socket while I wait for approval?
A portable charger plugged into a properly installed, dedicated 15A point with its own protection is a legitimate slow-charging arrangement many residents use, and it is worth asking your electrician whether your existing socket qualifies. What is not acceptable is an extension cord run from a balcony, window or lobby socket to the parking area: a real fire and shock risk, usually against society rules, and exactly what makes committees nervous about EVs.
Before you spend anything: every electrical statement here is general information, not an assessment of your building. Your wiring, earthing, panel condition and available load can only be judged on site by a licensed electrician, and only your DISCOM can confirm what your connection is sanctioned for and what changing it involves. Get both answers in writing before you buy equipment.